by Wade Shaddy

Create illuminated space in any bookcase using a light bridge. This type of lighting is installed below any shelf using simple ambient lights to add depth and character to the bookcase. Typical light bridges illuminate objects other than books such as vases, flowers pictures or keepsakes. They serve to open up the bookcase by providing light between rows of books on on either side. Typical light bridges are installed in bookcases that have three sections, with the middle section receiving the light bridge. It’s fine to add a light bridge to any shelf for the same effect.

1. Measure the length horizontally across the top shelf of the bookcase. Purchase a light bridge that will fit between the two vertical sides of the bookcase. The light bridge doesn’t need to fit tight flush on either end. For example, if the shelf is 48 inches wide, use any light bridge fixture measuring between 18 and 36 inches.

2. Stain and lacquer the front of the light bridge if needed. Lots of light bridge fixtures have a single piece of molding across the front. Choose a molding profile that matches your existing trim, and apply stain that matches the existing bookcase.

3. Locate the nearest power outlet. Use a drill/driver and 1-inch Forstner bit to drill a hole through the back of the bookcase on the side needed to access the power outlet. Drill the hole one inch diagonally from the back corner. If the bookcase is installed to the wall, it’s OK to drill the hole through the side of the bookcase, one inch diagonally from the back corner on the side needed.

4. Place the light bridge fixture under the top of the bookcase. Center it flush with the front edge.

5. Hold the light bridge with one hand. Use your other hand to place two 5/8-inch screws in drilled holes on either end of the light bridge. Screw the screws in tight to secure the light bridge to the bookcase.

6. Pull the cord straight back from the light bridge fixture to the point where the shelf contacts the back. Use a hammer to tap one horseshoe nail over the cord to secure it to the back of the bookcase. If the bookcase has no back, or the back is no thicker than 1/4 inch, tap the nail into the underside of the shelf to secure the cord.

7. Insert the end of the cord through the 1-inch hole. Pull it snug. Tap two more horseshoe nails into the cord to finish installing the light. Plug it in. The switch to turn the light off and on may be on the cord or the fixture itself, depending on the model.

Things You Will Need

  • Stain (optional)
  • Lacquer (optional)
  • Light bridge fixture
  • Drill/driver
  • 1-inch Forstner drill bit
  • 5/8-inch screws
  • Hammer
  • Horseshoe nails

You can also place the light bridge on the back of the shelf, which is not recommended because the light is dampened — or you can place it under any shelf to illuminate the shelf below it.

If the top of your bookcase has a decorative trim piece across the front that’s greater than 2 inches wide, you don’t need a light bridge. Purchase hobby lights to fit behind it for the same affect.

Warning: Be careful when drilling through finished wood. Drill from both sides to prevent splintering. Wear safety glasses.

By Robert Robillard
Bookcase and Mantle

Installation

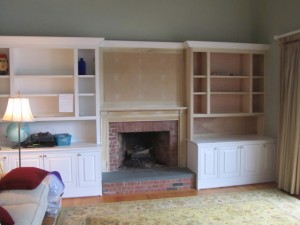
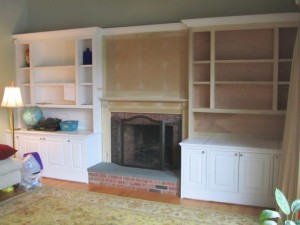
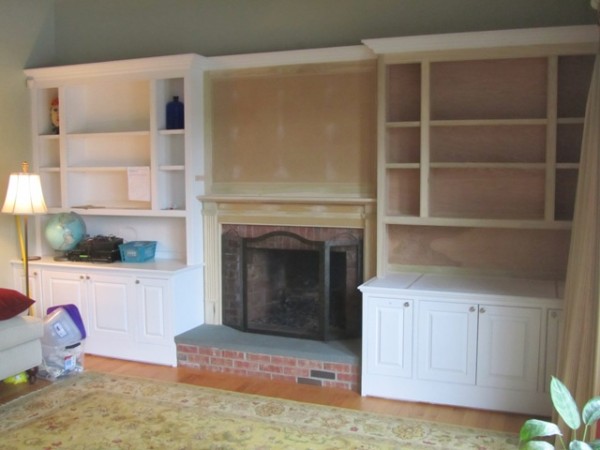
This post provides an example of how to install a bookcase, fireplace mantel and the panel above the mantel.

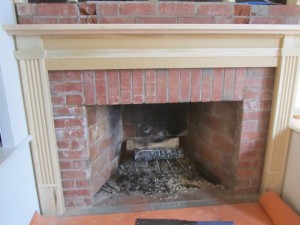
Earlier we prepared the blue stone fireplace mantel and brick corbel supports in order to install a shorter mantel to accommodate a flat screen TV. A new Somerset Mantel will cover and hide the torn off corbels and a larger panel will cover the exposed brick.

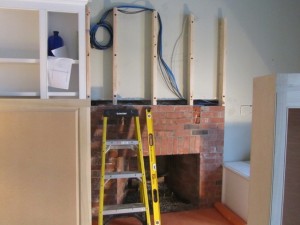
In order to get the panel to cover the brick we had to fur out the wall above 3-1/2″ to match the face of the brick. We used 2×4 lumber on edge and Timberlock type lag structural screws to lag the studs to the wall.

We took care to install all of the lags in the same spots on each stud.

The measurements were then recorded for when the TV wall mount is to be installed. There is nothing worse than drilling into a brand new piece of custom work and hitting a screw or lag.

Planning For A Flat Screen TV:Installing A Custom Bookcase And Fireplace Mantel

The electrician ran all of the HDMI, cable and power wires and we fished them to the top of our furring strips for easier access later. He will come back and mount boxes for all of the connections. These boxes will be hidden by the TV.

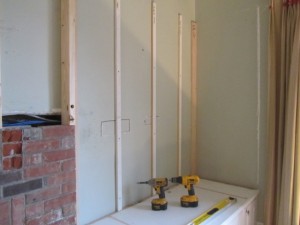
We purposely designed the new bookcase 3/4″ smaller than the one we were trying to match. We did this so we could fur out the wall behind the bookcase to accommodate future speaker or audio visual wires.

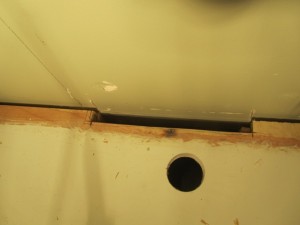
Prior to installing the bookcase we also cut out a rectangular slot in the base cabinet to make getting wires from the base cabinet to the rear of the bookcase.

Installing The Fireplace Mantel:

After furring the walls we set the mantel in place. We attached 3/4″ birch plywood scraps to the face of the brick with 2-1/2″ Tapcon screws. The plywood scraps will allow us to nail the mantle to the fireplace.Installing A Custom Bookcase And Fireplace Mantel

Both base cabinets had return molding touching the brick so we had to cut the mantle profile out in this molding.

We used a Japanese saw, utility knife and a sharp chisel to carve out the molding and then slid the mantel down.

With the mantle in place we cut installed the panel. Typically a panel this size would have been done as three smaller panels but it was decided that it would be better to have one panel since a large TV was being installed. The panel sits on top of the mantel shelf and was attached with finish screws.

Installing The Bookcase:

The bookcase was then installed. I purposely made the far right side of the bookcase trim larger to accommodate for an uneven or plumb wall. We scribed the wall and used a jigsaw to cut a bevel cut. Bevel cuts help the unit slid in place and are also a lot easier to make miner micro adjustments with a hand plane.

Once the bookcase was in place we secured it through the left side into the panel stud and along the top of the case, and through the back panel on the far right side. Pre-drilling and counter-sinking are important and We filled the screw holes when done.
Installing A Custom Bookcase And Fireplace Mantel

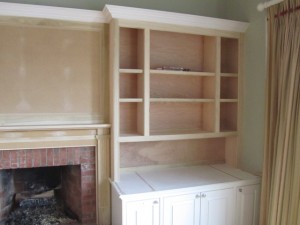
All nail holes are then filled and sanded, the entire project is vacuumed and then we caulked the seams. We then installed the shelves and re-installed the existing crown molding that we had saved.

Installing A Custom Bookcase And Fireplace Mantel

Installing A Custom Bookcase And Fireplace Mantel