Cabinet finishing – whether you’re using, paint, stain, oil, urethane or something else – is an easy, fun job that doesn’t require a ton of tools or years of experience. There are a few common tricks and techniques that will help you get that perfect factory finish. In fact, with the great deals that you can find on unfinished cabinetry, there is really no reason not to tackle the finishing job yourself! If you want to try painting, staining or varnishing unfinished cabinets, here are some of the things you’ll need to know to do a flawless finishing job.
Sanding and Surface Preparation
The biggest mistake that you can make is failing to prepare the surface of the cabinet properly, or neglecting to sand your finish between coats. On an unfinished base cabinet or wall cabinet, the manufacturer will have already done most of the sanding. However, one more light sand with a fine sandpaper – at least 200 grit, although 400 grit is even better – will help you get a silky-smooth finish.
As you sand, there are two things to remember: Always sand with the grain, and sand gently so that you don’t damage the veneer. Avoid power sanders, because the rotational or back-and-forth motions that these tools use can cause scratches across the wood grain.
Sanding between coats is even more important than sanding before the first coat. As you apply the finish, tiny bubbles will form and small bits of dust and debris will adhere to the surface, leaving the initial coats with a somewhat rough texture. Use 400-grit sandpaper or steel wool to open up those bubbles and remove any roughness.
Less is More
Another key to success is remembering that less is more. When you apply the first coat or two to an unfinished wall cabinet, it’ll be tempting to apply a thick coat simply because the finish will soak into the wood and look extremely patchy. However, thick coats of finish come with several problems:
• Heavy layers of finish tend to bubble more than thin coats.
• They take longer to dry, which means the wet finish has more time to collect dust and debris.
• Thick coats of finish are prone to drips, runs and other flaws.
If you want smooth paint or a perfectly glossy urethane finish, shoot for at least three to five thin coats rather than one or two thick coats of finish.
Which Tools are the Best Tools?
The beauty of cabinet finishing is that it doesn’t require lots of expensive or complicated tools. You’ll need brushes, cloths, sandpaper and something to clean up the mess – water for water-based finishes and paint thinner or mineral spirits for oil-based finishes. But how do you decide when to use a brush and when to use a cloth for the finish? Here’s a run-down of the best way to apply a variety of finishes:
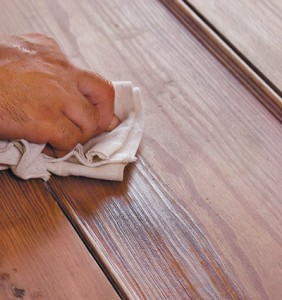
• For stain, use a cloth. Traditional stains are very thin and runny, which means it will be difficult to get an even coating with a brush. Gel stains are too thick for a brush – you’ll just push them when you should be rubbing them into the wood grain.
• Urethane, polyurethane, varnish and other oil-based clear coats can be applied with either a brush or a cloth. However, cloths are generally the preferred method because they allow you to apply the thinnest, most even coating.
• Oils – like teak oil or tung oil – are somewhat thin, so they should always be applied with a cloth.
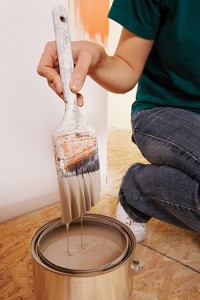
• Paints – both latex paint and oil paint – need to be brushed on. Use a soft brush for the thinner latex paints and a stiffer brush for oil paints.
As you can see, most finishes are best applied with a clean, lint-free cloth. Use either cheesecloth or old t-shirts. If you go the t-shirt route, cut them up into rags and then run them through the washing machine at least twice to remove any loose threads or fuzzy bits from the edges.
Finishing your own cabinets is an easy, rewarding job. These tips and techniques will give you that perfect showroom look no matter what finish you choose. So the next time you see a great deal on unfinished kitchen cabinets, don’t hesitate to take them home and give DIY finishing a shot!


